Create your own free dedicated group page in our directory
Add content about your services or events you’re hosting. Members can join your group, allowing you to stay in touch with them and engage with your audience.
- Create unlimited group pages for FREE
- Add events to your group page
- Create a friendly web address for your page
- Add a forum, pictures and videos
- Invite friends into your group pages
- Create public or private group pages
- Group members receive weekly updates of events you’re hosting
See our landing page here for all features
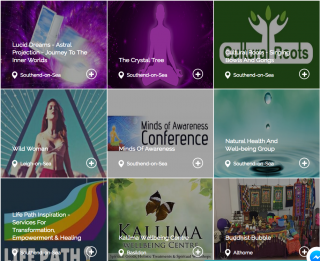
Group pages are free to create, permanent and searchable by location and categories. They are highly recommended if you’re hosting a regular group, meetings, classes or to use as your home page on the site to display all your events. Members can join your page and participate in your forum and automatically get notified when you add new events or posts.
How to add a group
- Press the “Create” button on the top menu.

- This will open a popup. Press the “+ Add Group” button
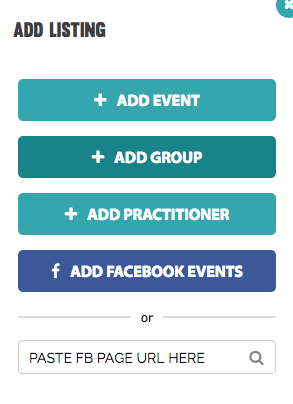
- If you’re already logged into the website it will take you to the backend page to create a group. Otherwise signup and become a member. It’s free.
Then supply the following information provided by the form:
My Group Name: This is the main title of your group.
Short Name: This is optional. However, you can use this field to change the title of your page URL.
Add in your contact details. Make sure there are no trailing spaces on your email address or website address or it will prompt you to correct it.
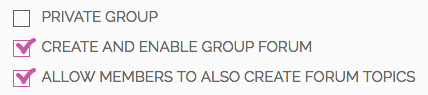
You then have the option to make your group private. By default all groups are public. When you make a group private, only members can see the information. None of the forum posts are shared in the main global forum.
Group Forum
By default your group will be created with a forum enabled where you can create articles and posts. If you wish to disable the forum, then untick that option. Also, by default other members can create posts in the forum. You can disable that option too, so only you can create posts. However, members can still reply and comment.
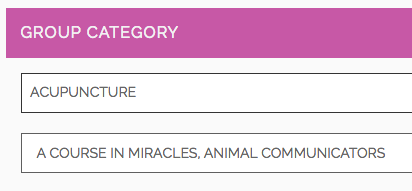
Group Categories
You can assign a number of categories to your group. The first option should be the default. You can then select other categories below that.
Group Description
Input a description for your group. No more than 4000 chars or approx. 750 words.
Group Location
Then input a location for your group, such as the town, city or full address if you wish to advertise that. We use Google Geo-location for the address lookup to obtain searchable coordinates. If your address doesn’t popup, then it means it’s not yet known by Google. Try entering the town or postcode instead. You then have the option to save the address if you wish to use it again on other groups or events you post. After entering your address, make sure it’s correct on the map below. You can click on the map with a single click to manually move the marker where it’s needed to go.
Tags
You can search for tags and assign them to your group. This helps people search for you.
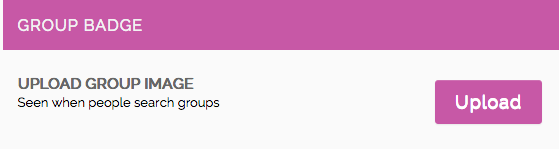
Group Badge
This can be your logo or an image that best represents you and your business. For best results make sure it’s bigger than 400px wide by 250px high. This is the image that will appear in the search results. If you don’t upload an image we will show a default image for your chosen category instead.
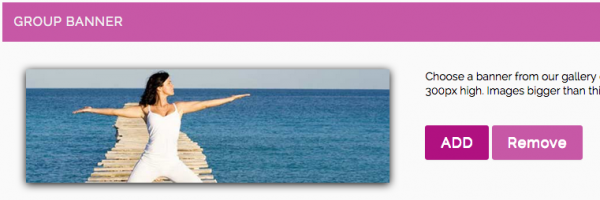
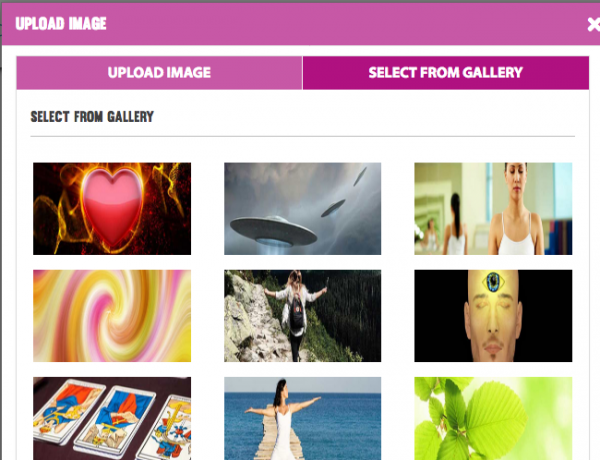
Group Banner
This is the wide image that’s displayed across the top of your group page. For best results please supply an image that’s 980px wide by 300px high. If you don’t have an image you can leave it empty and no banner will be displayed. Or you can press the “Add” button, then “Select from Gallery” to choose one.
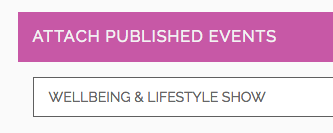
Attach Events
If you have already created events, then you can attach them to the group so the events are displayed on the page. When creating an event in the future you will have the option before publishing the event to attach it to your group page.
Create Group
Then press the “Create Group” button to publish it. If your get any validation errors, please go back through the form and make sure you have filled everything in and there are no trailing spaces on the website address or email address. All website addresses should start with: http:// or https://